From the Plaster Disaster to Plaster Master – Moving Past Failure to Find Success
- Catie Thow
- Oct 9, 2020
- 4 min read

This is a guest article written by Carl Hendrickson in the Nielsen and Boyer labs where he studies Living Shoreline restoration projects. He is interested in understanding how restored artificial oyster reefs affect water flow, and how that in turn impacts ecosystem services.
‘Plaster of paris’ is a common building material found in most hardware stores made from gypsum. Simply add water, mix thoroughly, form into whatever shape your home improvement project needs, and voila! Sounds simple, right? So, what does this have to do with marine science? First used in the 1970s, plaster of paris has been used as a crude method to measure wave energy: make plaster ‘clod cards,' put them out in the water column for a set period of time, and measure relative dissolution that occurs. While this method doesn’t produce defined quantitative numbers on wave energy, it does provide qualitative information on wave energy; blocks in locations with more wave energy should erode more quickly, and vice versa.
Fast forward to 2018, and I am a first-year master's student at San Francisco State University's Estuary and Ocean Science Center interested in wave energy. My project focuses on oyster reefs within Living Shoreline Projects in San Francisco Bay. These projects combine artificial oyster reefs, designed to attract native oysters, with restored native eelgrass beds. These systems create valuable habitat in the bay as well as providing ecosystem services that can help reduce some of the impacts of climate change. This part of my project looks at wave energy attenuation that can in turn protect coasts from erosion. I’ve only just heard of the plaster method, but it sounds like a cheap and easy way to measure wave energy. There are a few leftover blocks already made by another student deep in lab storage. Sounds great! A little bit of tinkering and the blocks are ready for a new trip into the bay. After two nervous weeks the blocks from storage come out of the water and yield results! Not perfect, not even great, but a good proof of concept, and the beginning of a journey. My own attempts at making and deploying plaster blocks are below.

Attempt #1
50 lbs. plaster of paris – check.
PVC molds – check.
Bamboo to mount – check.
No idea how much time is about to be sunk into the method – check.
Try 5 different water:plaster mixing ratios. Decide #3 is the best option.
Make test blocks. Put out test blocks.
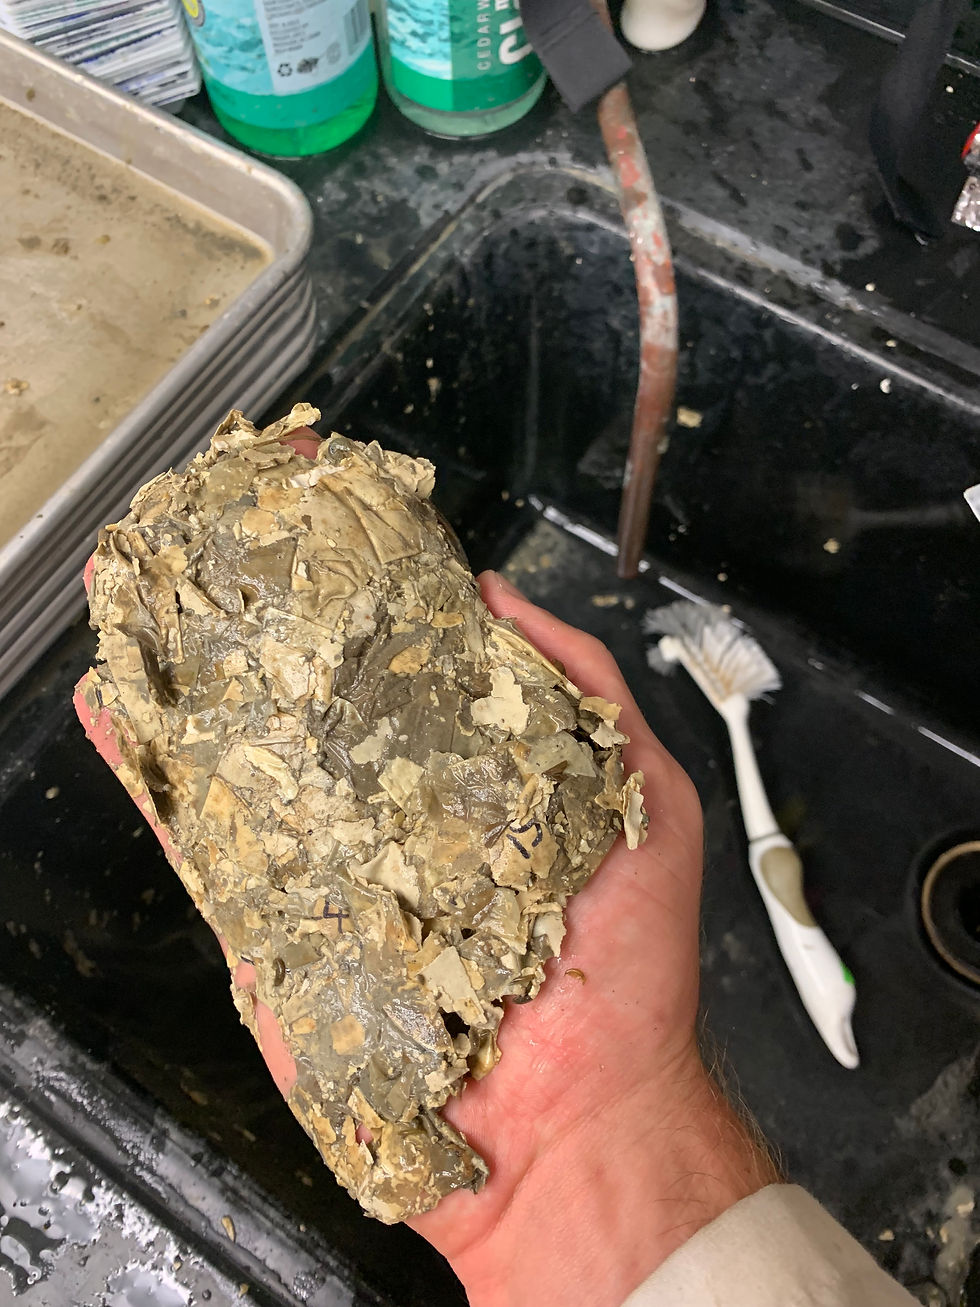
Failure – the blocks didn’t hold up. This was my first attempt, so I didn’t think it would go perfectly in any shape or form. This was a little worse than I expected, however.
Try again.
Attempt #2
Learn a few things about how to make blocks – check.
Buy wrong plaster product – check.
Make more test blocks. Put out test blocks.
Failure – the blocks didn’t hold up. I realized I had bought plaster wall patch in an identical looking bag. Pretty frustrated with myself.
Try again.
Attempt #3
Correct plaster material – check.
Correct polyurethane – check.
Make huge mess in the lab – check.
Place out in the Bay with great hope and aspiration. I’ve got all the right stuff.
Failure – I’m not sure what happened. Maybe the polyurethane didn’t adhere to the plaster, maybe the plaster isn’t really meant to sit in the bay for two weeks.
Try again.
By now, I’m pretty frustrated with plaster in general. After some additional investigation, I discover that more recent plaster studies have used more modern materials. Higher density plaster is now preferred, which brought me inexplicably into the world of dental materials. Dentists use plaster for the same reason that home improvement enthusiasts do, only they use much stronger materials. Type III dental stone gypsum powder has about 4X the compressive strength of plaster of paris (about 2,000psi vs. about 10,000 psi). That means it won’t break down nearly as fast, and is needed for the prolonged deployments I was interested in doing. With a new material in hand, and the threat of dropping this project component if it didn’t produce results, I set out on my last attempt.
Attempt #4
New dental plaster – check.
Correct polyurethane – check.
Last chance to make it work – check.
Two very nervous weeks – check.
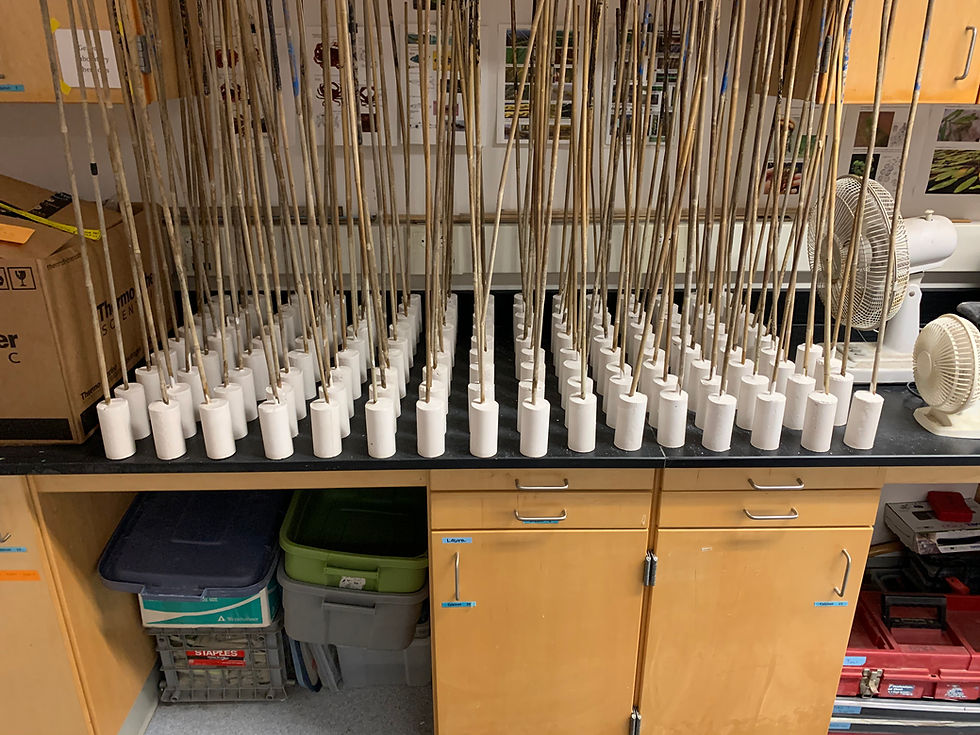
SUCCESS – The blocks performed even better than I had hoped!

Attempt #5
Feeling good – check.
SUCCESS – Round 2 was a breeze.
When I started this project component, I thought it was going to be fun, easy, and produce great data to answer my question. Along the way I encountered huge messes, confusion, frustration, and failure. But I also encountered lots of brainstorming and problem solving, creativity, arts and crafts, and success. I’m now getting ready to start wrapping up my data and move on to writing, and I look at this part of my project fondly. It’s important to remind myself that for every success I had in the project, there were many failures along the way - and that’s ok. Most of what we hear and read about in science are success stories. It’s rare to see a publication on a failed project. This can give the impression that everything always works, or that people who publish are the ones that never mess up. After this project experience, I’m much more OK with failure along the way, because it’s a necessary part of finding success.


The sling bags are designed in such a way that they occupy less space
and. Best for travelling purposes these bags are reliable by
www.plasterershobart.com.au. These bags can save much of your space and
carry much luggage. These can be ordered online as well.